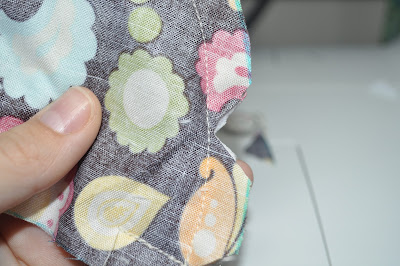
As I briefly mentioned here, we took a road trip to California for Christmas. And in case you weren't sure, we live in a suburb of Chicago so that meant about 36 hours of driving. One. way. Whew!
I'm happy to say, we all made it back in one piece with nary a complaint from anyone. Well, maybe one or two. After all, 36 hours in a car is a lot to ask of someone, especially children. But we made it. We had a blast and I have lots to share with you.
I'm still working on getting back into a normal routine, so for now I'll leave you with a cute photo of my kids dressed in their Christmas pajamas. I promise a detailed account of our trip soon.
Hoping you all had a wonderful holiday and that Santa made all of your wishes come true!
12.30.2010
12.14.2010
Toddler Travel Pillow Tutorial
Try to say that 10 times fast!
Aaanyway...we're going to be taking off to California for Christmas soon and I decided to make my kids some travel neck pillows to help keep them comfortable for the loooong car ride. Yes. We're driving. I know, we must be nuts. Please say a prayer for us.
I had a hard time finding a good tutorial online, so I thought I would walk you through how I made mine. It's a very straight forward pattern and took maybe 30 minutes to make, with the most time consuming parts being cutting and stuffing (and of course pinning - I hate pinning!)
Materials needed:
- Fabric of your choice. I used quilting cotton on top and minkee on the bottom - hence the pinning.
- polyfil - or stuffing of your choice
- pins
- thread
- scissors
- needle for hand sewing opening shut
- sewing machine
- chopstick or knitting needle for stuffing and poking
Here's how I made my pattern. I made the back part thinner so it wouldn't push my kids heads forward.
After you make your pattern and cut it out, cut two pieces from your fabric.
Pin your two pieces together all the way around, right sides facing. Be sure to leave a gap for turning on one of the straight ends. I like to mark the opening with two pins on either side so I don't forget as I'm sewing along.
Sew your pieces together with a 1/2 inch seam allowance, making sure to remove the pins as you go. I like to sew the outside edge first, then the inside circle and finish with the straight ends.
Once you've sewn all the way around, trim your corners and seam allowances to reduce bulk. Also, snip the inside circle and notch the outside to make everything lay nice and flat without puckering. Be careful not to snip through your stitches. That would be bad. I may or may not speak from experience.
After you're done snipping, it's time to turn it right side out through the opening that you left.
Gently poke out your corners with a chopstick or knitting needle.
Here's what we have so far - an empty shell all ready to be stuffed.
Ok, time to stuff it! You'll want to use small pieces of stuffing to keep it from getting lumpy. Use your chopstick or the back end of your knitting needle to cram it all the way down into the corners. Stuff it nice and firm so it really provides good support for your precious child's neck.
Once you have it nice and firm, hand stitch it closed with your preferred stitch. I like to use a ladder stitch for a nice clean finish. I'm a bad blogger and forgot to take a photo of this step. Shame shame!
Look at that! You're done. Sit back and admire your handy work. :)
Aaanyway...we're going to be taking off to California for Christmas soon and I decided to make my kids some travel neck pillows to help keep them comfortable for the loooong car ride. Yes. We're driving. I know, we must be nuts. Please say a prayer for us.
yes, she's still in pajamas. That's how we roll around here!
I had a hard time finding a good tutorial online, so I thought I would walk you through how I made mine. It's a very straight forward pattern and took maybe 30 minutes to make, with the most time consuming parts being cutting and stuffing (and of course pinning - I hate pinning!)
Materials needed:
- Fabric of your choice. I used quilting cotton on top and minkee on the bottom - hence the pinning.
- polyfil - or stuffing of your choice
- pins
- thread
- scissors
- needle for hand sewing opening shut
- sewing machine
- chopstick or knitting needle for stuffing and poking
Here's how I made my pattern. I made the back part thinner so it wouldn't push my kids heads forward.
After you make your pattern and cut it out, cut two pieces from your fabric.
Pin your two pieces together all the way around, right sides facing. Be sure to leave a gap for turning on one of the straight ends. I like to mark the opening with two pins on either side so I don't forget as I'm sewing along.
Sew your pieces together with a 1/2 inch seam allowance, making sure to remove the pins as you go. I like to sew the outside edge first, then the inside circle and finish with the straight ends.
Once you've sewn all the way around, trim your corners and seam allowances to reduce bulk. Also, snip the inside circle and notch the outside to make everything lay nice and flat without puckering. Be careful not to snip through your stitches. That would be bad. I may or may not speak from experience.
After you're done snipping, it's time to turn it right side out through the opening that you left.
Gently poke out your corners with a chopstick or knitting needle.
Here's what we have so far - an empty shell all ready to be stuffed.
Ok, time to stuff it! You'll want to use small pieces of stuffing to keep it from getting lumpy. Use your chopstick or the back end of your knitting needle to cram it all the way down into the corners. Stuff it nice and firm so it really provides good support for your precious child's neck.
Once you have it nice and firm, hand stitch it closed with your preferred stitch. I like to use a ladder stitch for a nice clean finish. I'm a bad blogger and forgot to take a photo of this step. Shame shame!
Look at that! You're done. Sit back and admire your handy work. :)
Finished dimensions - 9 x 9 with 3.5 inch diameter neck opening.
Let me know if you try this pattern and how it turns out! Also, be sure to let me know if you have any questions or if anything is unclear. Happy Sewing! :)
Oh yeah, and apologies for the different fabrics used. I forgot to take some photos along the way and filled in with the second one I made. :)
ETA: I feel the need to add that this pattern is for personal use only and is not to be sold or used to make things to be sold. Thank you for respecting that. :)
ETA: I feel the need to add that this pattern is for personal use only and is not to be sold or used to make things to be sold. Thank you for respecting that. :)

P.S. If you like what you see here, I'd love it if you'd share!
12.07.2010
Treasury Tuesday
Welcome to the third edition of Treasury Tuesday! I found this treasury just seconds into my search and there was no question that this would be the one I would feature today. Aqua and pink is such a beautiful color combination and I love the items that the curator chose to highlight here. Enjoy!
'Pimky!' by ClementinesJewelry
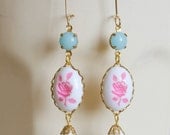 Goldfilled Pastel Bloss... $26.00 |  Buy 2 get 1 for free - ... $5.99 | 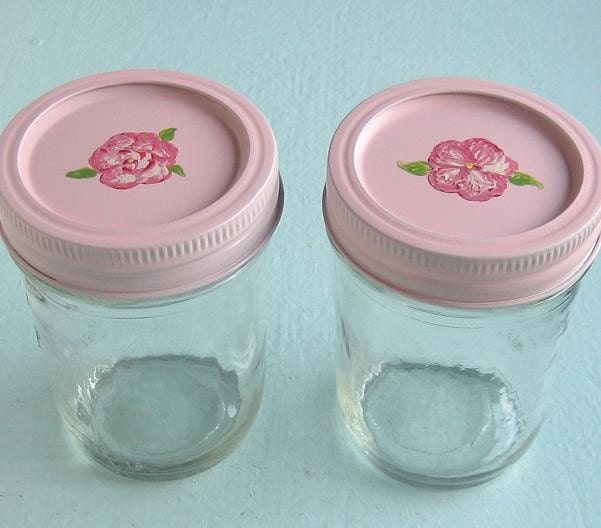 Vintage Shabby Chic Han... $12.00 |
 Charming (5x7 Unframed ... $15.00 | 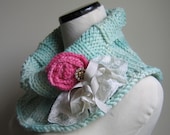 The English Rose knit c... $50.00 |  Lisa / Paper doll vinta... $12.00 |
 Light blue Butterfly - ... $18.00 |  Coral Rose/ Fabric rose... $18.50 |  Bubblegum Pink Dangling... $2.99 |
 Reserved for inkoehtdes... $13.00 |  SALE A Moment in Time 5... $8.00 |  Anna Brooch - Handmade ... $15.00 |
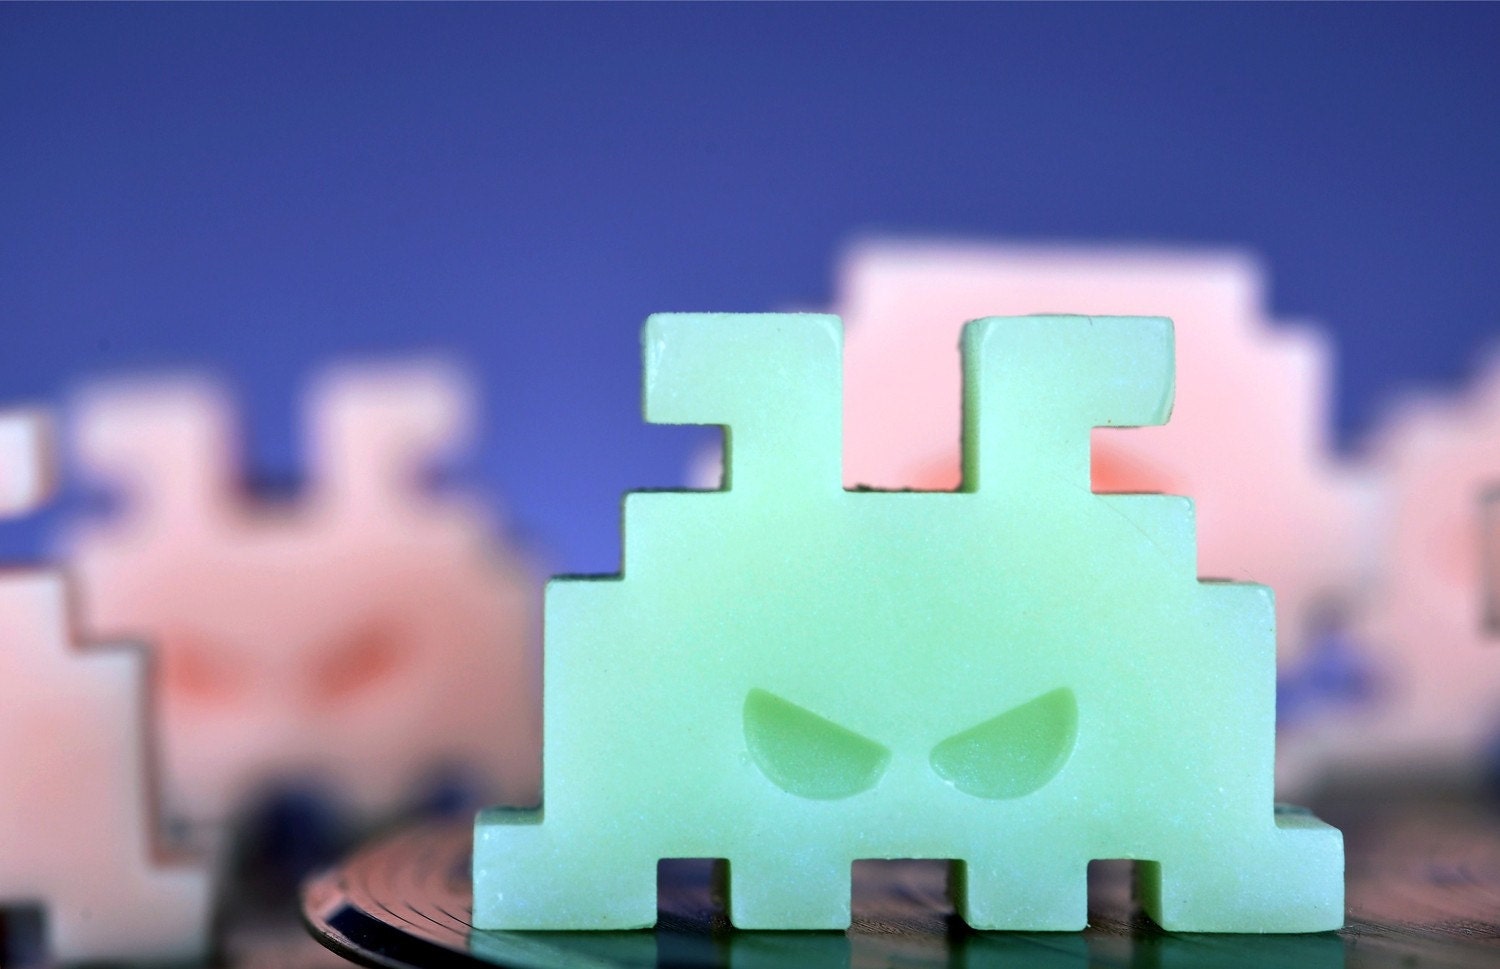 space invaders soap $4.90 |  Sweet Pink And Blue Ele... $4.95 |  Cute as a button soap s... $4.00 |
Generated using Treasury HTML code generator by Whale Shark Websites.

P.S. If you like what you see here, I'd love it if you'd share!
12.06.2010
Six Days
I'm taking a lot of deep breaths today as I try to keep my composure. There are only 6 days until the craft show I'm participating in. This means I'm running around like a mad woman trying to tie up all of the loose ends and make sure I have everything I need to make this show a success.
I've sewed and sewed and sewed some more for the past few months and finally have an inventory that I'm quite proud of. Now that I'm decently comfortable with how many items I have to offer at the show, I'm moving on to presentation type details. I sent about 100 lunch bags through my printer today to end up with 45 acceptable bags to package small items in. I've spent countless hours in Photoshop creating artwork for signs and tags and now I'm gathering all of my display props, clerical necessities, and behind the scenes type stuff.
I hope with every fiber of my being that all of this hard work and preparation is not in vain. But even if it is, I'll at least have a boat load of new items to add to my etsy shop, Rhyah Papaya.
Here is the flier I created with all of the information for the show. If you're in the greater Chicago-land area, I'd love it if you came by to say hello!

P.S. If you like what you see here, I'd love it if you'd share!
12.01.2010
Wordless Wednesday - Christmasifying

P.S. If you like what you see here, I'd love it if you'd share!
Subscribe to:
Comments (Atom)


